Thursday, January 29, 2015

Another Mixed Media Valentine card tutorial


Do you ever think mixed media isn't for you? Maybe you are a card maker or scrapbooker and figure mixed media techniques don't work for what you do.
Or that you need to go out and buy all new supplies to enter the mixed media world.

Well today I'm here to show you how YOU can make a mixed media card using supplies you all ready have on hand (and maybe a quick trip into the kitchen for the last one).

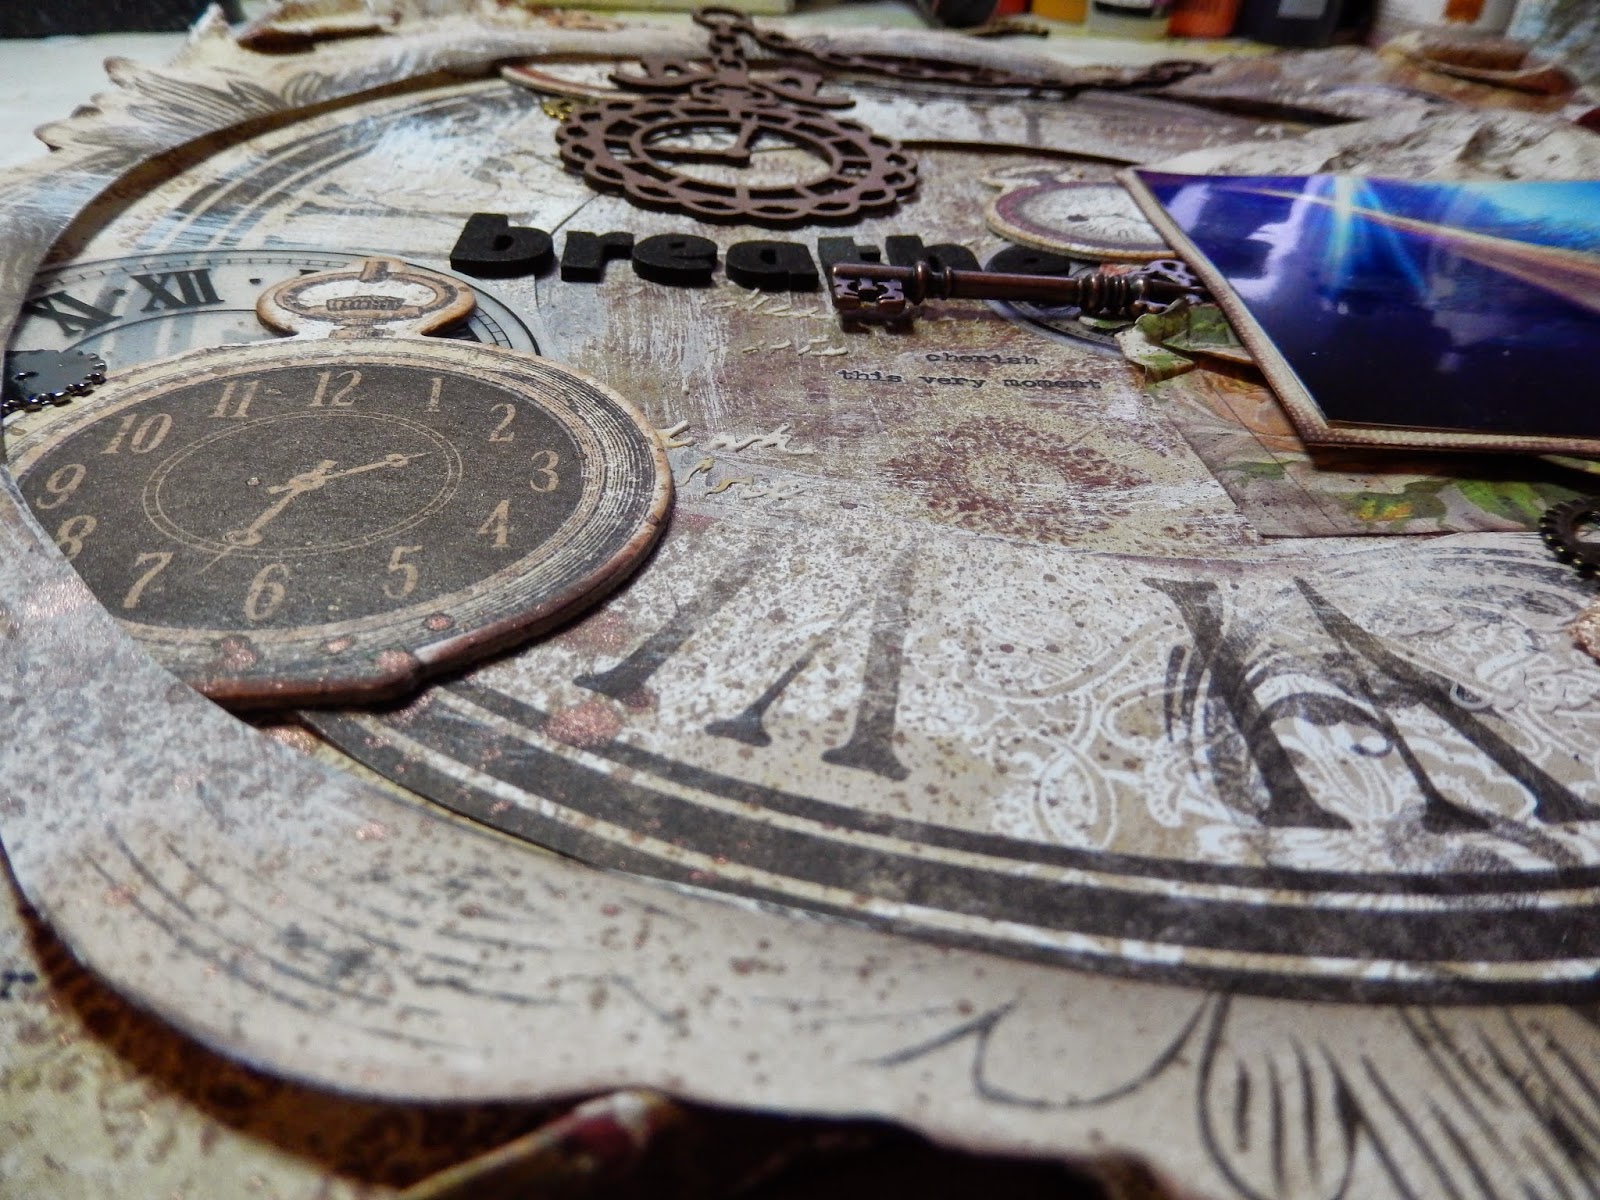
This is the finished card.
Doesn't look to hard, right, and with the extra materials gives it a ton of texture.

Supplies:
Patterned paper, cheesecloth, gel medium, solvent ink, tissue or sewing pattern paper, book text (or more patterned paper), card base, and a background stamp

1:Place a piece of patterned paper onto your card stock base
2: Using Gel Medium place a piece of the cheesecloth into the center of the card.

3:Tear a piece of book text (or patterned paper), ink the edges and layer over your cheesecloth, making sure some still poles out.

4: Using the background stamp and solvent ink stamp across the tissue paper.
Cut out a heart shape from it.

5:Using Gel Medium adhere the heart over all the layers. Outline with a charcoal pencil & smudge. Add your sentiment

And you are DONE!
How easy was that.

Incorporating mixed media techniques into projects like cards adds a fun new element.
Enjoy creating!

Tuesday, January 27, 2015

Balance...an art journal page

Somedays it feels like I am a circus performer;
trying to balance everything go on around me and still be ME.

Today's day & age has us all being pulled in a thousand and one directions at any given time,
causing us to always balance it all.
This page came about as I went through it myself.
I tend to be pretty good at it.
Juggling everyone's schedules and still maintaining time for me and creating,
but the last couple of weeks it has been especially hard.
While I can usually knock out a page in on sitting it took me 3 weeks to get this to come together.
When that happens I usually put the piece to the side, start something else and come back later.
Yet I couldn't with this.
It sat and sat until today when I knew exactly how I wanted to finish.
Getting the balance back,
creating when I can,
and trying to do the best I can everyday.

The background started when I used the page to clean a brush while working on another project.
Multiple stamps, mists and stencils were used then given a light wash of Gesso.

In my continuing quest to use up what I have, the tickets have been hanging in a drawer for several years.
The pocket came from a vintage paper bundle and the rub ons are Tim Holtz.
Each number on the page has some significance to me.

The title came from 2 Club Scrap stamps.
They were from separate sets I believe but both fell at the same time when I knocked a pile over.
Fate?


Thanks for stopping by and have a wonderful day.
I hope that you are all achieving some balance in your life as well.

Monday, January 26, 2015

Still time to enter the January challenge at Craft Hoarders Anonymous!

Just a friendly reminder...
There is still time to enter the January challenge at

This is a fun one for sure;
CHOOSE YOUR CHALLENGE!
Create any type or style of project you wish, as long as you pick ONE (1) item from each category in the chart below! Choose your cardstock, printed paper, or other base (box, canvas, tray, etc.). Next, choose your adhesive. Finally, from the chart below, choose your coloring medium, fiber, technique, texture, and embellishments for your project! The combinations are almost endless! (You may choose more than one item from each category, but you MUST have AT LEAST ONE from each!) Have fun, and welcome to a NEW YEAR at Craft Hoarders Anonymous!

Here is the chart to choose from...

This is what I have made using the above chart.
I used the Beloved kit from Swirlydoos to create this layout of me and the youngest.
From the list I have;
Spray Mist, Paint, Twine, Stamping, Distressing Tool, Chipboard, Metal,
Flowers, Buttons, & Bling.
Whew!

Supplies:
Kaisercraft paper & Die Cuts
Prima Crystals & Flowers
Tattered Angels Mist
Blue Fern Chipboard
Twine, Metal, & Gesso

Make sure to visit the Design Team members blogs
 to see how the have worked with this challenge.

Thursday, January 22, 2015

Valentine's Day is on the way! 3 Mixed Media card tutorials just for you!


Hey everyone!
It's almost Valentine's Day and to help you get ready I'm sharing
3 (yes 3)
video tutorials on creating one of a kind cards for those special someones.
                             Valentine’s Day is one of the few holidays when I truly enjoy making
                                cards. The stores are full of them but to me, nothing says you’re
                                       special to someone like making a handmade card for them.

Each card has it's on video.
While I use or recommend certain products feel free to make them your own and create as you want.
Remember these are your cards!

The first video is the longest as it shows some of the "stuff" I pull out when creating.
I tend to get a lot on my desk and narrow it down as I work.
If you create something inspired by the videos please share a link.
I love to see what others do.

Card 1:

Here is the video ....
Supplies
5”x7” card base
4 1/2”x6 1/2” watercolor paper (or neutral cardstock)
4 3/4”x6 3/4” matte, in your choice of color
Pink mist
Solvent ink
Script stamp
Sentiment
Cheesecloth
Gel medium
Acrylic paint (in a neutral color)
Bubble wrap
Raffia ribbon
Brown ink

Card 2:


Here is the video...

Supplies
5”x7” card base
4 3/4”x6 3/4” matte
4 1/2”x6 1/2” watercolor paper (or neutral cardstock)
Patterned paper
Tissue and/or specialty paper
Painted paper towel
Book text
Gel medium
Brown or black ink
Washi tape
Charcoal pencil
Embellishments
Last but not least,
Card 3:


and here is the video...

Supplies
5”x7” card base
Card matte
4 1/2”x6 1/2” watercolor paper (or neutral cardstock)
Book text
Gesso
Gel medium
Acrylic paint in two complementary colors
Corrugated cardboard
Background stamp
Script stamp
Solvent ink
Bubble wrap
Sentiment
Spray bottle with water

Thanks for stopping by and have fun creating!

Tuesday, January 13, 2015

Swirlydoos January Round Robin

Once again I am joining up with the
Swirlydoos Round Robin challenge.
Where each week a team member lifts the layout posted before them.

It's always one of my favorite challenges out there.

The push to step outside your comfort zone as well as be inspired by those around you.
This month I am on Team 3 and followed Peggy.
Now usually I just share my layout but this time around I am sharing hers as well because it is absolutely flipping amazing.
This is what she created and I had to follow...talk about tough!
The twist this month (there always is one)
is that you were to pull at least 3 things from your stash over a year old.
1 year....pshaw
I upped the ante and went 3+ yrs old,
and this is my layout.
The paper and chipboard clocks are from BoBunny's timepiece collection-2011
The chipboard clock on a chain, the mist used, Glitz paper layers, watch faces, and the leaves are all several years old as well.

Cluster of Prima flowers, metal, old leaves and chipboard pieces.

Misting with Lindy's Stamp Gang Moonshadow mist
in Cattail Copper Brown (one of the 1st colors I ever bought from them)

Some modeling paste through a Crafter's Workshop stencil for added 
texture.
Tim Holtz rub ons to add to my word of the year.


Make sure to visit the Swirlydoos forum 
and see how others are taking on the challenge while using up their stash.

Thanks for stopping by and have a great day.


Monday, January 12, 2015

Kicking off the new year with a Craft Hoarders Anonymous challenge

Happy 2015!
It's time for a new challenge at 

This is a fun one for sure;
CHOOSE YOUR CHALLENGE!
Create any type or style of project you wish, as long as you pick ONE (1) item from each category in the chart below! Choose your cardstock, printed paper, or other base (box, canvas, tray, etc.). Next, choose your adhesive. Finally, from the chart below, choose your coloring medium, fiber, technique, texture, and embellishments for your project! The combinations are almost endless! (You may choose more than one item from each category, but you MUST have AT LEAST ONE from each!) Have fun, and welcome to a NEW YEAR at Craft Hoarders Anonymous!

Here is the chart to choose from...

This is what I have made using the above chart.
I used the Beloved kit from Swirlydoos to create this layout of me and the youngest.
From the list I have;
Spray Mist, Paint, Twine, Stamping, Distressing Tool, Chipboard, Metal,
Flowers, Buttons, & Bling.
Whew!

Supplies:
Kaisercraft paper & Die Cuts
Prima Crystals & Flowers
Tattered Angels Mist
Blue Fern Chipboard
Twine, Metal, & Gesso

Views of my dripping mist, chipboard & twine...


Make sure to visit the Design Team members blogs
 to see how the have worked with this challenge.


Monday, January 5, 2015

Playing with Sketchabilities 130 and Swirlydoos

Happy 2015 everyone.
I hope your Holiday season was filled with family and fun.

My house has finally cleared out.
The last of the visitors left yesterday and I finally get to start creating again.

Today I pulled out the newest sketch from the
Sketchabilities blog, #13o.
Totally fun and ready for some messy media.

I also had on my desk the December kit from 
Enchanted Evening.
Perfect!

This is the layout I created.
The base paper is from BoBunny Rose Cafe line.
I added some scraped on Gesso and Primary Cyan fluid acrylic paint by Golden,
followed up with some stamping using stamps from
Tim Holtz and Club Scrap.
A little strip of dyed lace and some Dresden Foil trim.

Prima flowers & resin.
The chipboard is from Creative Embellishments, 
colored with Prima ink and clear embossing powder.

A doily is layered under the photo 
and blue twine circled around it.

Some Tim Holtz rub ons and splattered
Glimmer mist in Slate finish off the page.

That's it for today.
So happy to be back creating.

Now to go put away all the decorations!
Thanks for stopping by and have a great day!